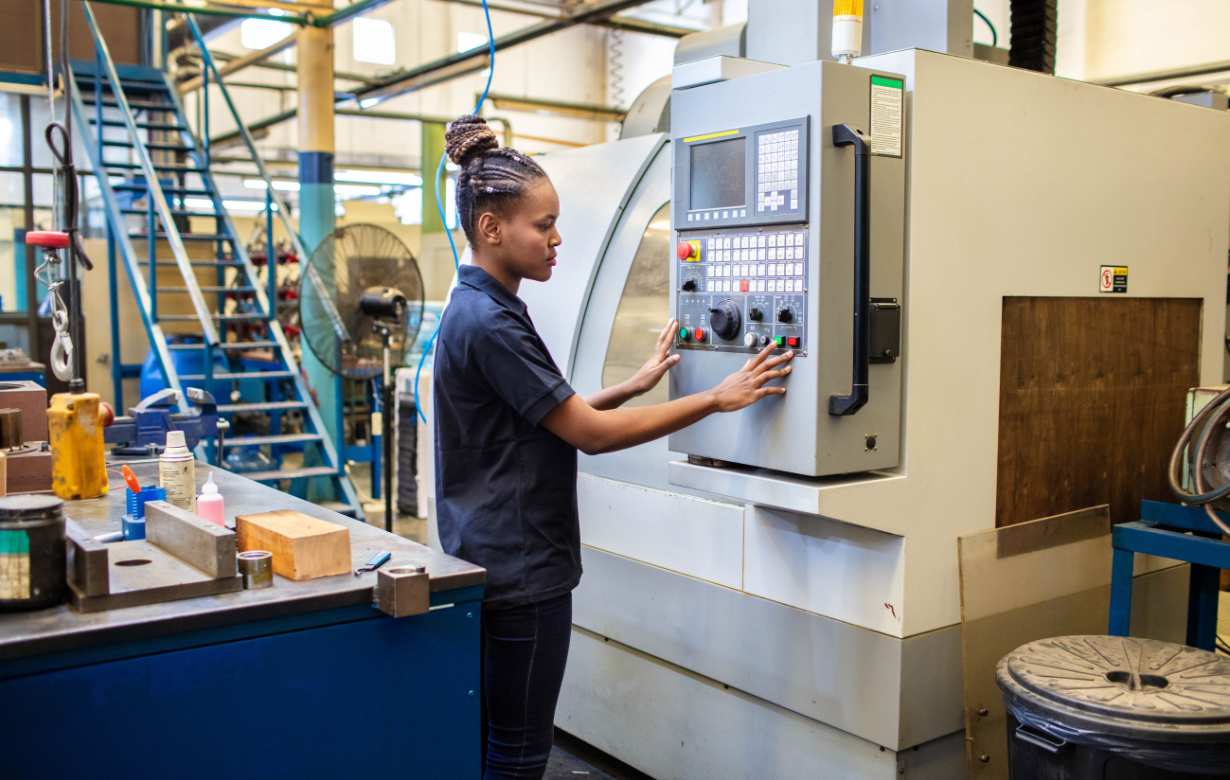
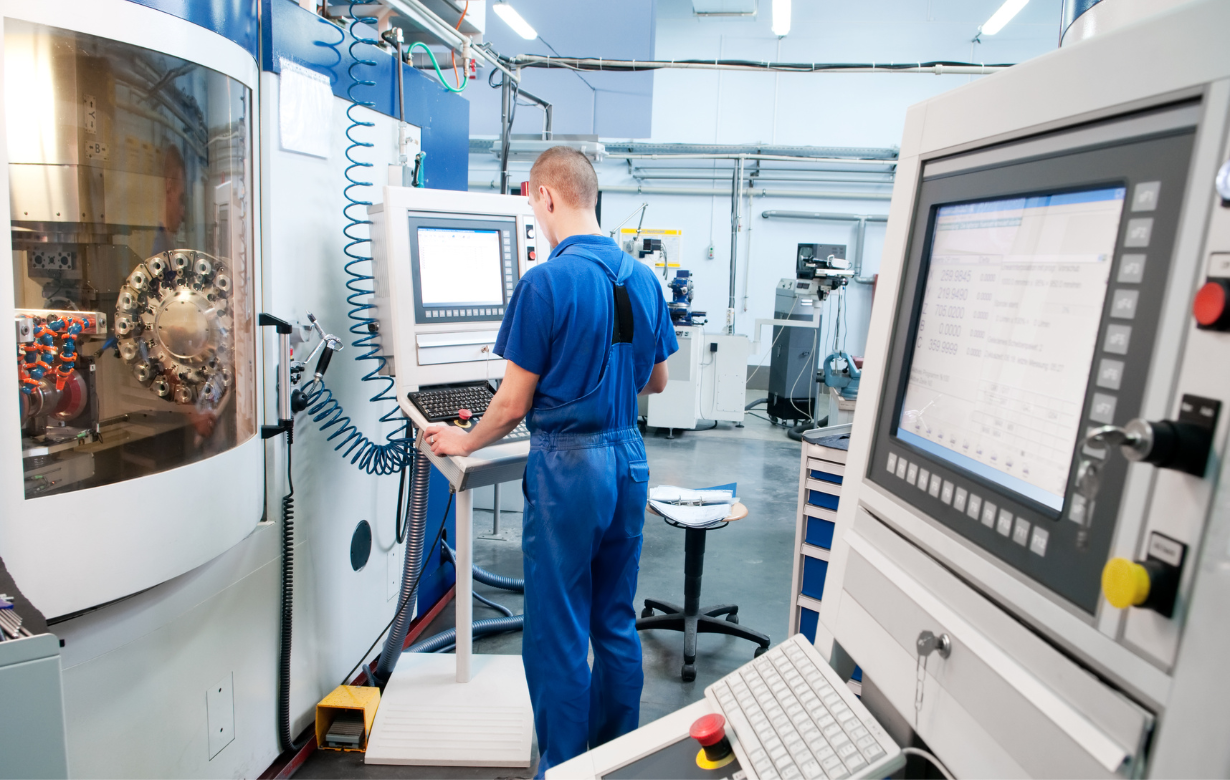
A CNC machine is a computer-controlled machine that operates according to the programs and commands entered into it. The commands help the tool to decide the toolpath and also help in determining the movement of the axis. If you are not working with manual CNC machines, then connecting with computers is the first step of modernizing your CNC shop and bringing in automation. If you are not familiar with how to connect your CNC machine with a computer and want some advice, then you have come to the right place, as we will discuss all the ways in which you can connect your machine with a computer and get it running. So, let’s not waste time and dive deep into knowing different wired and wireless systems to connect a CNC machine to a computer.
Why connect a CNC machine to a computer?
Let’s answer this question first: Why should you even connect a CNC machine to a computer?
- You want to simplify the program transfer process to your newly bought used CNC machine by quickly loading the G-Code and part files.
- You want to do remote monitoring of the shop floor and adjust jobs.
- You want to collect different data, like efficiency, run times, and errors for maintenance.
- You want to manage all the networked machines from a single location.
Knowing your CNC machine’s interface:
Here is the first step of connecting your CNC machine with a computer: you will have to find out your CNC machine’s interface. Here’s how you can do it:
- Older CNCs: If your CNC is pretty old, like more than 20 years old, then it is most probably going to offer RS-232 serial, and sometimes parallel ports.
- Newer CNCs: The newer CNC machines have Ethernet connectivity and USB ports (which are mostly on the PC side for serial adapters).
- Retrofitted models: Some retrofitted old CNC machines may have upgraded ports or network cards for modern connectivity.
Selecting the right connection method:
Here are some of the most preferred connection methods between a computer and a CNC machine:
- RS-232 serial cable (wired connection): This is the most common style of wired connection method that you will find in old, used CNC machines. RS-232 is a serial communication protocol, which means data is transferred bit by bit over a single line. It is a relatively slow protocol, but it has been the backbone of data transfer in CNC for years.
What you need: A CNC serial cable (DB‑9 male‑to‑male or DB‑25-to-DB‑9 with gender changers), USB-to-serial adapter, and a DNC software or communication utility.
How to operate: Start with plugging the RS-232 into both the CNC and PC, install drivers for the USB adapter, check device manager for your COM port number, set identical serial parameters on both CNC and computer, open your DNC software, assign the correct COM port, configure the parameters to match the CNC, test the communication by sending a small file, and then send the final file from the PC. - Ethernet connection ( wired connection): It is one of the most preferred choices in different CNC machining shops due to its high speed, reliability, and networking capabilities. Ethernet uses a packet based communication protocol, which helps with faster data transfer rates and allows the CNC machine to be integrated in a Local Area Network (LAN).
How to operate: Start by connecting a CAT5/6 ethernet cable from CNC to PC or local switch/router, assign network settings on CNC and PC, use manufacturer software or the CNC’s file management menus to transfer files, and for larger shops, a common approach is to set up a central work directory for better access and backups. - USB connection: You won’t most probably find a USB port in an old used CNC machine, but a lot of the newer machines utilize direct USB connection for simplicity of data transfer. USB plays a role through USB-to-serial adapters, or via specialized USB based CNC controllers. A USB-based CNC controller acts as an intermediary, which takes commands from your computer via USB and then converts them into signals for the machine’s stepper or servo drivers.
How to operate: Look for a standard USB type-B port on the CNC controller, save your program in the USB flash drive, insert the USB into the CNC’s USB port, and then use the control panel to find and load the program. - Serial to Wifi convertors (wireless RS-232): One of the most popular wireless solutions for CNC machines is a serial to wifi converter. These devices help in bridging the gap between old CNC machines and your modern wireless connectivity. The converter plugs into the RS-232 port of the machine and then establishes a connection with your local wifi network. Your computer must also be connected to the same network.
How to operate: Start by wiring the adapter’s serial port to the CNC, power the adapter on, configure the adapter via web interface, install driver/software on PC to create visual serial port which will map to the wireless adapter, use your DNC software on the PC targeting the new virtual port to send/recieve programs with a physical cable. - Wifi: This is mostly available in some of the modern CNC machines. You can connect it using a direct wifi connection, and the files can be transferred using FTP, SMB, or manufacturer software.
Installing and configuring software:
Here’s the next step, which is the installation and configuration of the software, because the connection is as good as the software that manages it:
Some popular options for wired or wireless transfer include DNC precision, NC edit, manufacturer provided utilities like FANUC, Haas, and shop floor automations DNC.
How to set up:
- Install the software and perform the initial setup steps.
- Select the right COM port or virtual COM port.
- Match all serial/network parameters to those set on the CNC and/or adapter.
- Use the Device Manager to confirm the port number.
- Set the CNC to program receive mode.
- If networked, then use the menu to browse to shared folders or network drives to select the file.
Which one should you select between wired and wireless?
Here’s a detailed chart of differences between wired and wireless connectivity:
Feature | Wired | Wireless |
Reliability | Very high, rarely interfered | Can be affected by signal interference or distance |
Installation | Requires routing cables | Easier to install, less physical mess |
Flexibility | Limited by cable length and access | Access anywhere within Wi-Fi range |
Security | Less vulnerable to hacking | Needs robust encryption |
Cost | Usually cheaper up-front | Adapter hardware may cost more initially |
Best practices to follow when connecting the CNC machine with a computer:
Here are some of the top practices that you can follow to build a connection between your computer and the CNC machine:
- Keep a backup of all the critical G-code files.
- Make sure you document all your connection parameters.
- Label all the cables and ports to avoid confusion in big shops.
- Regularly update the DNC and adapter firmware for better performance and security.
- Make sure all your staff are well educated and well trained so most issues can be solved easily.
Conclusion:
Connecting a CNC machine to a computer is not a tough job; it can be done seamlessly in a short time if the operator has the right expertise and skill. The main issue with connecting a used CNC machine is the age of the machine and what connectivity option it provides, but if you want to check out used CNC machines with different features and ages, then you must check our collection.
Also, if you want to find out how to transfer programs once the machine is connected then you can check out our blog about easy steps to follow to transfer programs to a CNC machine.