Transferring the program is one of the first and most vital steps to get your used CNC machine started. When you buy a used CNC machine and you have old experience of machining, then the work gets easier because you don’t have to start with programming, you can get the old programming transferred to your machine. Sometimes, a change in the control system might cause some problems, but the process of transferring the program remains the same. But the process might be critical for you, and knowing how to do it in the right way can save your time, reduce errors, and increase productivity. The process has different issues in it, like the several challenges that you can face while getting the whole thing done. But worry not! Reading this one blog will give you a detailed idea of how to transfer programs to a CNC machine in a seamless way. 

Why does transferring a CNC program matter?

Let’s find out the main reasons why transferring the program to a CNC machine is important in the first place:

  1. Efficiency: The faster your data transfer is, the less downtime of the machine and the more productivity. 
  2. Accuracy: Consistent integrity of the program files ensures that the machine runs the exact code that you intended. 
  3. Safety: A Correct program ensures the reduction of malfunctions and accidents, leading to the protection of both operators and the machine. 
  4. Flexibility: Knowing how to transfer programs to CNC machines helps to use updated CAD/CAM programs across multiple machines. 

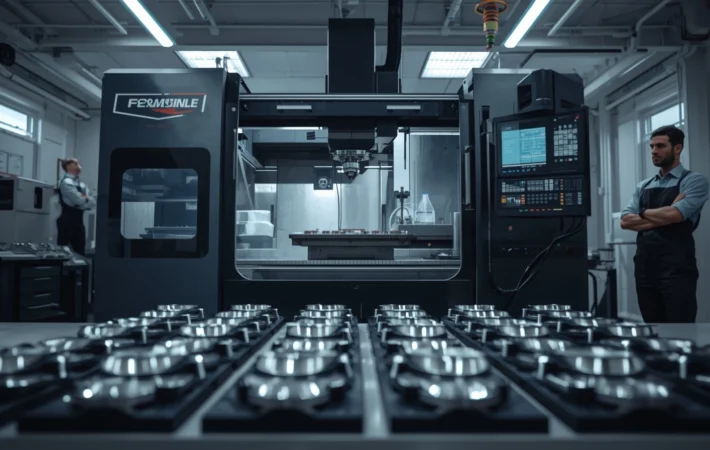
Steps to transfer a program to a used CNC machine:

Here is the detailed account of the steps that you will need to take to transfer a program to a CNC machine:

Step 1: Prepare your CNC program: Your CAD/CAM software will help you generate the G-code. You need to post process your G-Code for your respective controller. You also need to ensure that your CNC program is error free. Once the program is generated, you need to save your program in a format that your CNC machine can read. Finally, you need to double check the compatibility of your code before you go ahead to the next step. 

Step 2: Choose the right transfer method: In the next step, you will have to choose the right transfer medium for your program. So here’s a detailed chart of the most common methods you can use to do so: 

Transfer MethodTypical Use CaseProsCons
USB Flash DriveMost modern CNC machinesFast, easy, widely supportedNot available on very old machines
RS-232 Serial CableOlder machines (pre-2000s)Reliable, industry standardSlower, requires configuration
Ethernet/NetworkNewer or upgraded machinesFast, enables remote transferRequires network setup
Floppy DiskLegacy machinesSometimes only optionObsolete, limited capacity
Wireless (Wi-Fi)Latest machines with IoT featuresNo cables, convenientSecurity risks, not universal

Step 3: Backup everything: Before you start the main CNC program transfer work, you will need to back up all data, especially the CNC program, to ensure optimal safety. Get your program backed up on your computer for better safety and future access, and then you need to back up the machining parameters, as they are the DNA of CNC machining work. Losing your parameters will make the CNC machine inoperable. Back up your tool offsets and fixture offsets to avoid costly errors and rework. 

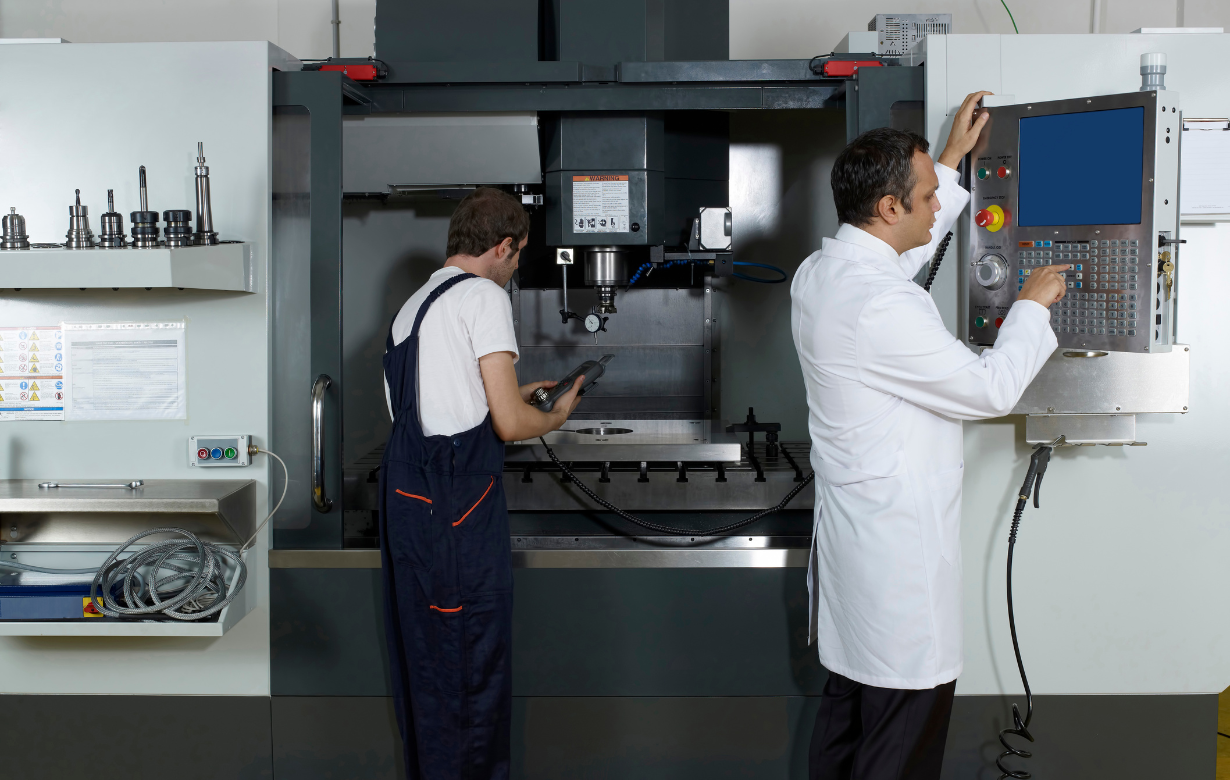
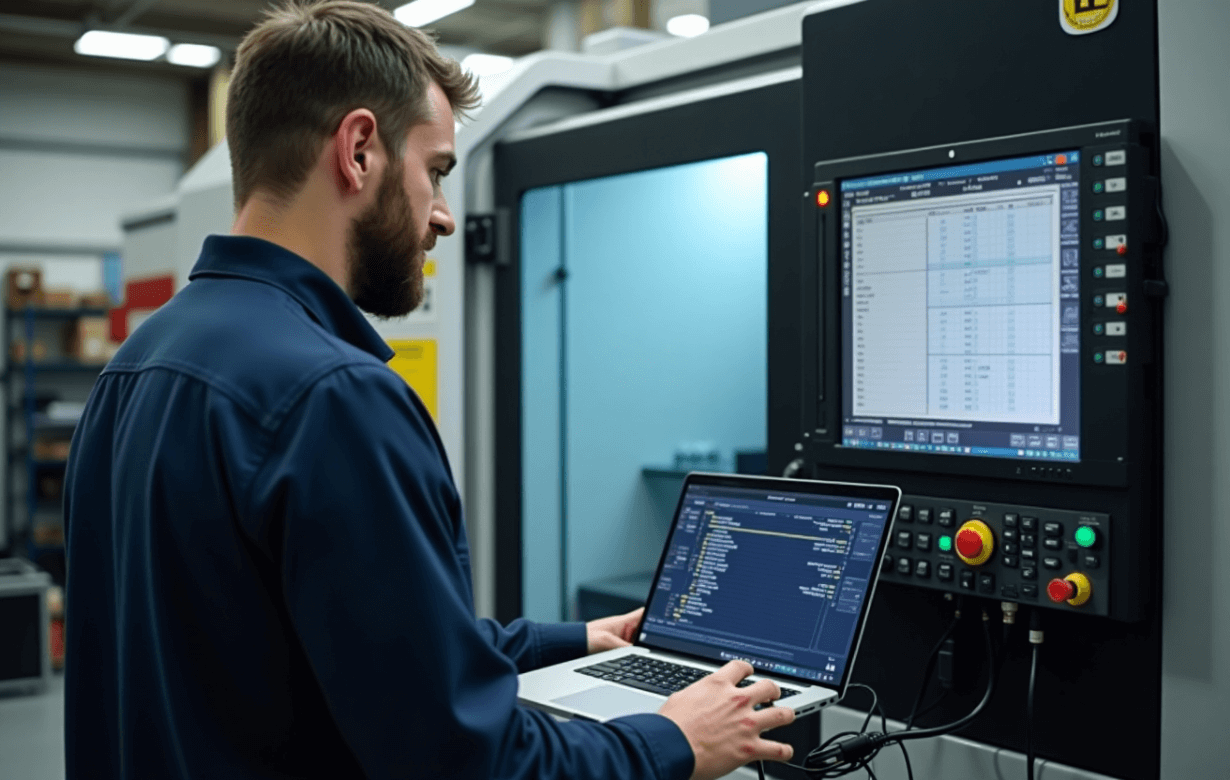
Step 4: Do the program transfer. In the next step, you will need to do the physical transfer of your program to your CNC machine through the various steps: 

4.1: USB flash drive: 

  • Copy your program onto a USB flash drive. 
  • Then insert the USB into the USB port of the CNC machine. 
  • Then, on the machine’s control panel, navigate to the USB device, locate your program, and then select it for the transfer. 
  • Finally, use the machine’s interface to copy the program to the memory. 

4.2: RS-232 serial cable:

  • In the first step, you will have to connect the computer to the CNC machine using the right RS-232 cable. 
  • You can use different software, like NC Edit, DNC software, or manufacturer-specific tools, to transfer the program files. 
  • Configure parity, baud rate, and other communication settings, and ensure that they match the requirements of your CNC machine. 
  • Start the transfer from the computer, then accept and load the file in the control panel of the CNC machine. 

4.3: Network Ethernet: 

  • You need to ensure that the CNC machine and the computer are connected to the same network. 
  • Then use the machine’s software or a program transfer tool to send files over the network. 
  • Make sure to assign a working directory for easy organization and backups. 

4.4: floppy disk or other media: 

  • Firstly, save your program to the appropriate media.
  • Insert the media into the CNC machine. 
  • Then use the machine’s interface to load the program. 

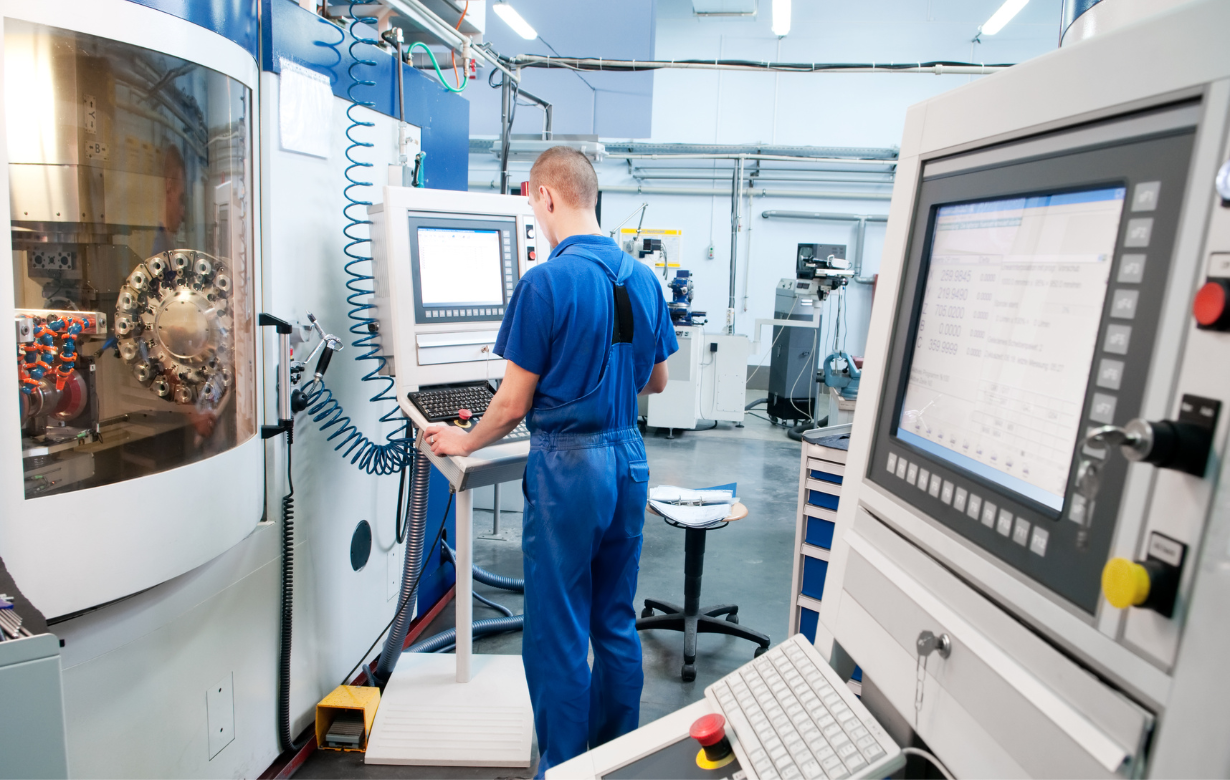
Step 5: Load the program into the CNC controller. After you are done transferring the program with the help of the preferred program transfer system, you need to go to the control panel, select the option to load or import a program. Then navigate to the storage device, select the program file, and confirm the import of the program. Make sure to verify the program that appears in your machine’s memory, double check the program number and name to ensure you don’t run the wrong code. 

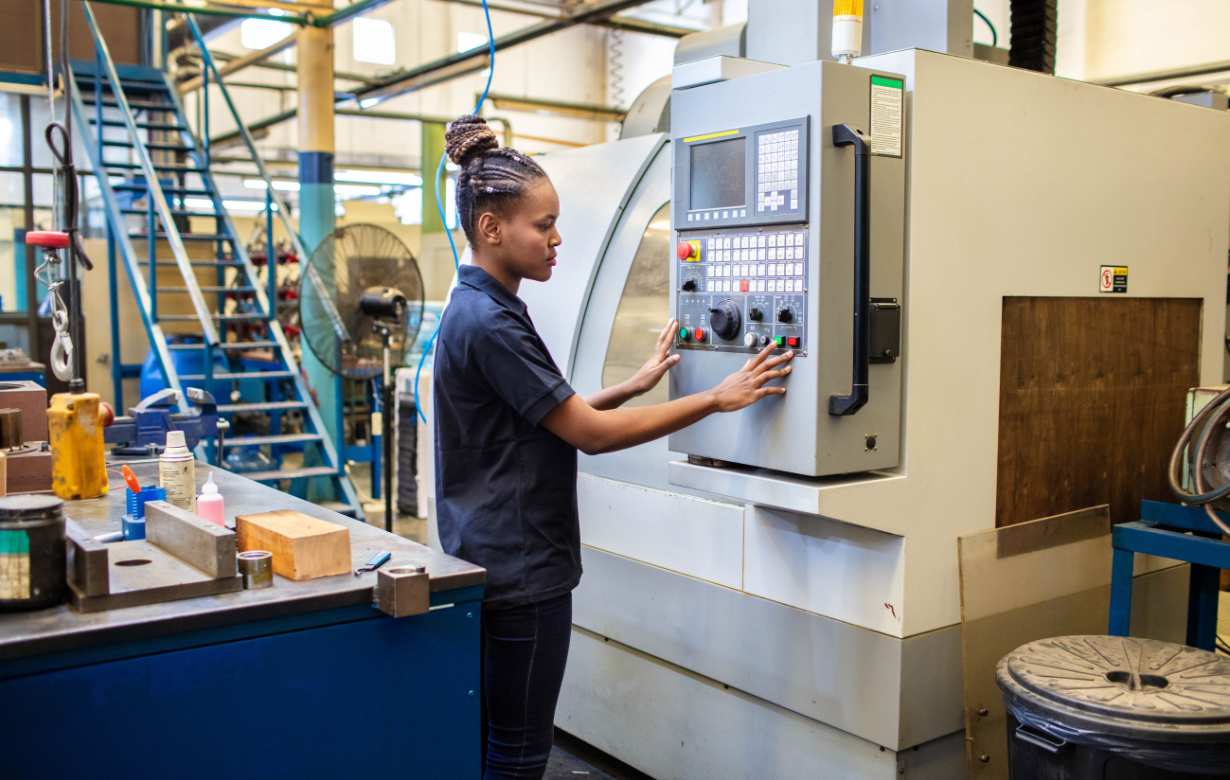
Step 6: Set up the machine for the job: Once the program is loaded in the CNC machine, you will get your CNC machine ready for the job. Here’s how you can do it:

  • Load all the necessary tools, and secure the workpiece in the vise or fixture.
  • Jog each tool to the reference point, set tool length offsets, and then set the work offsets of all the axes. 
  • Also, check the coolant levels and whether the machine is homed or not. 

Step 7: Do a dry run and backup: Before going for the main machining work, you will have to do a dry run to check whether the program is correct, and there is no collision or error during the main machining process. Watch the proper tool paths, and confirm accuracy. Check for alarms and warnings and fix those issues before you go for the main machining work. Make sure to back up all the programs, machining parameters, and tool offsets for smooth machining work in the future. 

Common problems and how to fix them?

Now, when you start your journey of transferring a program to a used CNC machine, you are going to face some troubles, like most other people. So, here’s a list of the most common problems people face while transferring programs and how you can fix them in real time: 

  1. Compatibility issues: The compatibility of the CNC machine you bought with the programming file and transfer mode type is a major problem people face. To fix that, you must check the file format before transferring, and if it’s not the same, then use the conversion utilities provided by your CAM software. 
  2. Connection errors: Sometimes connecting with the CNC machines becomes tough, and communication errors start popping up. For better connection, ensure the cable quality is good and the correct port settings are used. You can replace the outdated cables. 
  3. Limited machine memory: Another common problem is a shortage of memory space in CNC machines. To get rid of this issue, you can take the help of drip feeding (DNC) to send large programs in smaller blocks; otherwise, you can just upgrade the machine memory if that option is available. 
  4. Data corruption: Last but not least, data corruption is a major problem that many people have to deal with while transferring programs to CNC machines. To fix this problem, verify the file integrity before and after transfer. Also, keep backup copies of every program. 

Best practices to follow for transferring programs to a CNC machine: 

Here’s a list of some of the best practices that you need to follow to transfer the programs to a CNC machine: 

  1. You need to label the programs clearly to stay organized during different kinds of operations. Use descriptive file names for that, and also maintain a version log. 
  2. Make sure to use quality adapters during the program transfer, as low-quality USB serial cables may fail. So you can choose FTDI chipsets and industrial adapters. 
  3. You will have to standardize the procedure, so operators can do it well in your absence. Create a checklist for operators to follow during each transfer. 
  4. Do a proper inspection of baud rate settings; serial communications are finicky, and mismatches can lead to silent failures. 
  5. The memory limit matters, so older machines with older controls like Dynapath Delta, Fanuc OM, can need drip feeding due to their memory constraints. 
  6. You need to work on network consolidations. If you have several machines, then you will have to use a centralized serial over IP box and DNC server to manage the workflow. 
  7. Get your operators trained in the right way, ensure that all understand the program transfer methods, and how to troubleshoot the issues. 
  8. Lastly, make sure to stay updated with new technologies, as that will help you make your programming transfer more efficient and seamless. 

Conclusion: 

Transferring your CNC program to a newly bought used CNC machine or any CNC machine is not a herculean task, but it is a task that needs deep focus and proper, organized execution. It should be done following the right practices to ensure optimal results, and after the transfer is done, rechecking is necessary to ensure there is no corruption or error in the file. Also, if you are looking to buy used multi axis CNC machines, then you should check our collections to find out some great machines at the most lucrative price point, and if you want any particular type of machine, you can let us know in Machinery Locator.